


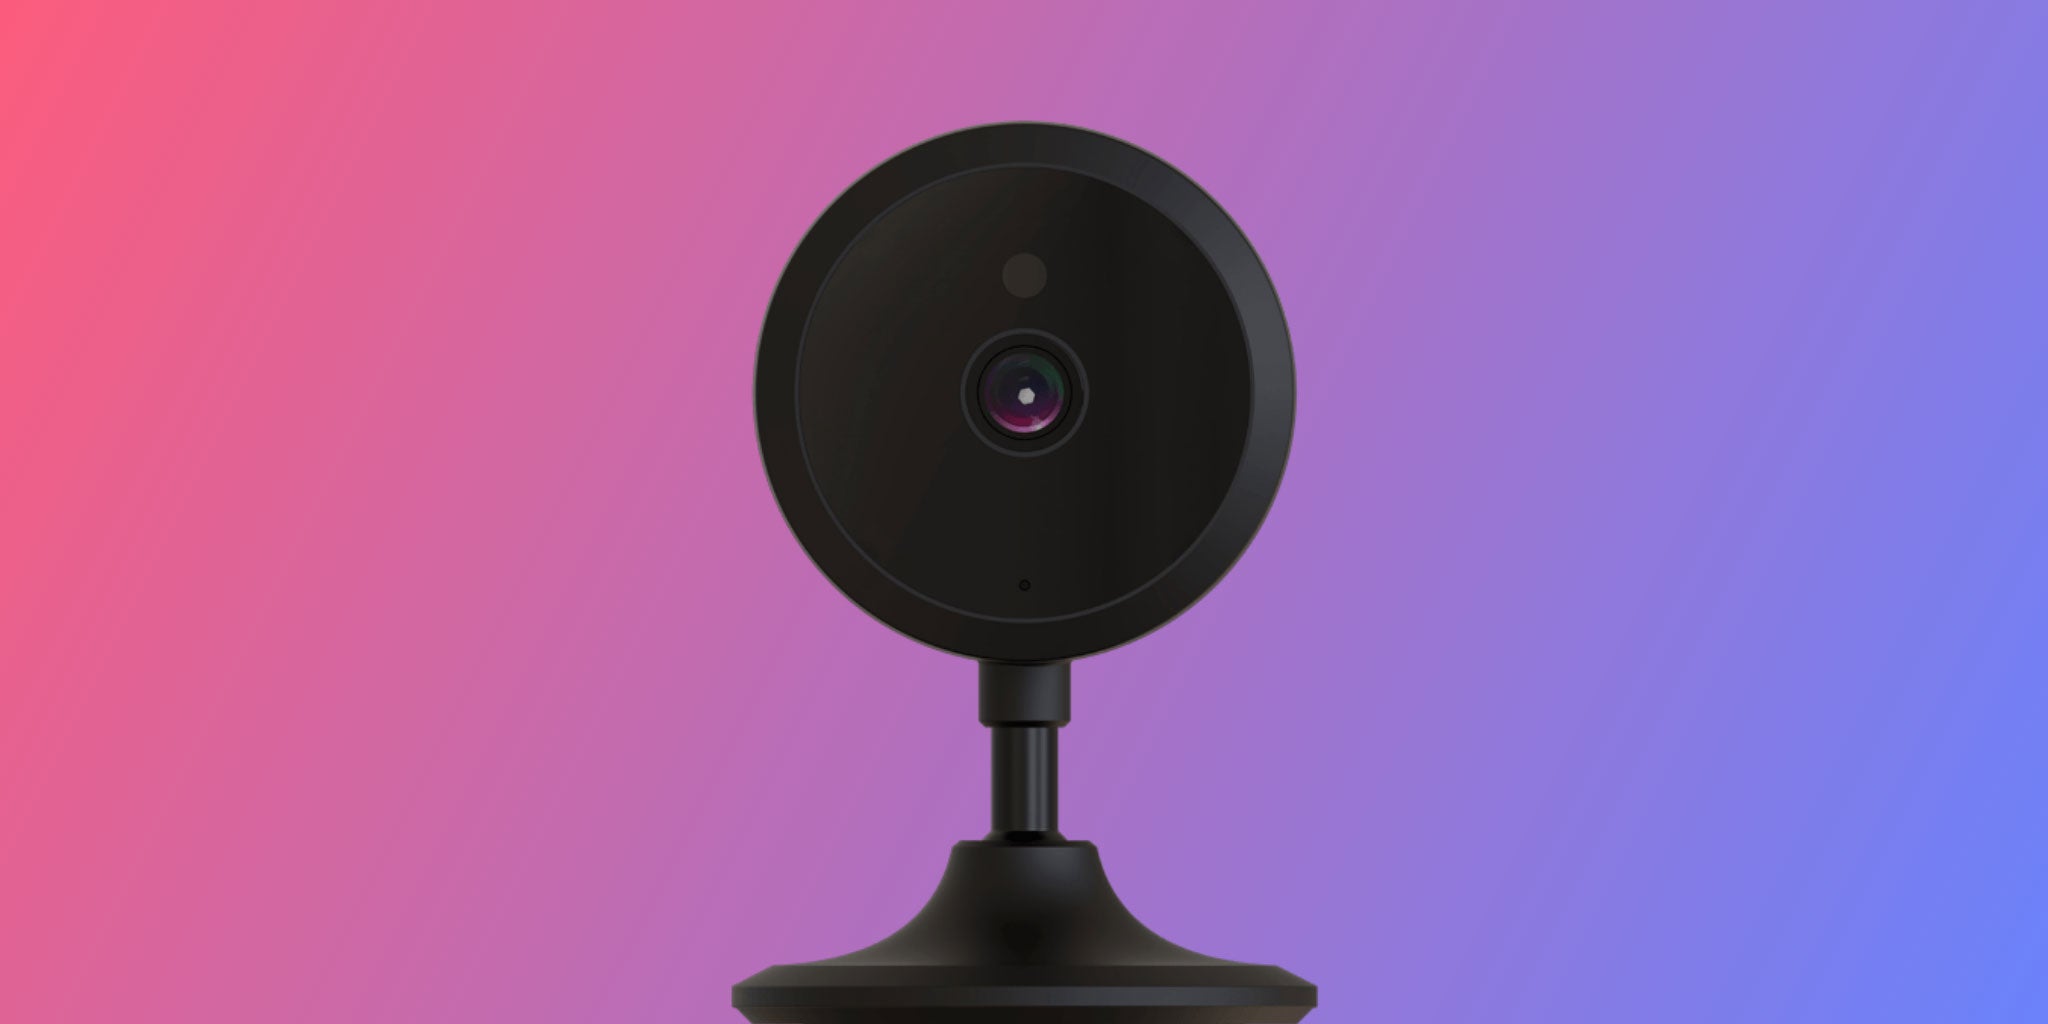
Adding a new indoor or outdoor video surveillance camera to your Alphahōm® Home Security Alarm is really easy, but because the camera will connect directly to your WiFi router and not only to the system hub, there are a few things you need to have in mind.
This guide will take you step by step through the setup process in just a few minutes.
Prepare your network
Both the indoor and outdoor camera needs to connect to the 2.4 GHz frequency of your WiFi network. Many routers will offer two different frequencies at the same time, one being 5 GHz and one being the 2.4 GHz we need for this installation.
Identify the name of your 2.4 GHz WiFi network as you will need to know this during the setup. You will also need to know the WiFi password. Write both of these down on a piece of paper and have them ready for later in the process.
Now check if the mobile phone you will use for the setup is connected to the 2.4 or 5 GHz part of your WiFi network. If it’s connected to the 5 GHz switch it to the 2.4 GHz in your phone’s WiFi menu.

While you are in there checking which network your phone is connected to, it’s a good idea to make sure it doesn’t automatically switch back to the 5 GHz network during the setup process. To ensure this, simply toggle the “Auto-Join” option off on the 5 GHz network.

Oh and don’t worry! This is just to make the setup process go smoothly. As soon as your new camera is added, you can go back to using the 5 GHz network on your phone again.
Insert a microSD memory card
This step is completely optional. However, inserting an SD card will definitely add value to your camera, as it will allow for continuous recordings to be stored locally on the camera, creating a complete log of video recordings for the past week or so, depending on the capacity of the microSD card you insert.
When the SD card is full, the oldest recording will automatically be overwritten and you will always have the latest days of recordings available.
If you decide to use a microSD memory card in your camera, there is a few things you need to know. Both the indoor and the outdoor camera can handle microSD cards with up to 128 GB of storage capacity. If you insert a card with more storage than this, it will not work.
When choosing which microSD card to insert in your camera, it’s important to go with one that is made for security cameras and these are classified by either Class Speed or UHS Speed for newer SD cards. Buy at least a C10 or U1 microSD card to be sure it will perform well in your camera.
If the card has been used before, make sure that it is completely empty before inserting it into your camera.
Now, it’s time to insert the microSD memory card. In the indoor camera you will find the SD card slot on the side of the camera and on the outdoor camera you will find it under the small cover on the bottom of the camera. Use a Philips head screwdriver to remove the cover, insert the microSD card and install the cover again.
Everything is now prepared and we can start to add the camera to your home security system.
Add the camera
- Connect the camera to a power outlet using the included power supply.
- Wait for the camera to startup. Your will hear a sound when it’s ready.
- Open the Alphahōm® Alarm app on your phone and tap the “Add Accessory” button.
- Scan the QR code found on your new camera. On the indoor camera it’s found on the bottom and on the outdoor camera it’s found on the top.
- The onscreen instructions will now tell you to connect to the camera from your phone’s WiFi settings. Do that now. Go to your phones WiFi menu and connect to the camera and jump back into the Alphahōm® app when you are done.
- The app will now do the rest for you. It will setup the camera and connect it to your security system hub. When it’s done your will be asked to name your camera. Give it a name that makes sense for you.
Done. Your new camera is now added to your home security system and it ready for use.